bootstrap html templates

Mastering Three Sewing Techniques to Advance Level


If you are a seamstress/tailor, you must first master the skills to be promoted to the next level from the beginner level. The first thing you need to understand the entire sewing system is a sewing machine.
You should know your sewing machine as much as you can because this will lead you to other things. To learn more about what a good beginner sewing and quilting machine is, read this guide. Which are the best sewing machine for quilting to buy?
Basic sewing techniques for seamtress
Now sewing has many techniques and tricks, but there are three skills that you must master. These skills will not only increase your knowledge for the future but also add finish and professionalism in all your projects. It is essential that you give yourself completely in practice to be a professional.
Let's look at the three basic techniques that each seamstress or tailor must master to bring beauty and finish to their work. As a beginner, you may also need some books to go into details and read more about the mechanism and the complete system, but you will learn about so many technical things in a short time. Let's review these techniques together.

1 - cut

As a seamstress, I don't think I should remind my colleagues how important it is to cut in each project and a problem in the cut can lead to disastrous sewing. Cutting is one of the essential parts of sewing and one needs to master this technique before continuing with sewing. It is difficult for beginners to cut the straight line and often end up with irregular cut lines.
As a beginner, you should take some steps to master your cutting skills, such as starting your straight cut with the help of chalk or invisible ink. Draw a straight line and follow the line at the time of cutting or you can get the help of the grain line. When you are about to start cutting at your sewing desk, make sure your position is adjustable and that you have a cutting board for the garment stand.
Start cutting using patches of rough cloth in your home and try to cut the garment in the shape of the desired project. If you do well in the cut, then it means that half of your work is done and now you can go to the next level that is sewing.

2 - Seams

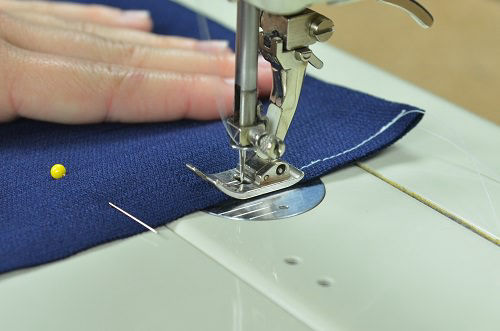
Sewing requires finishing and beauty when working on any garment. If your seam is not up to par or if you do not give strength to the clothes in the form of stitches, it means that there is a problem with the configuration of your sewing machine or that you are not using thread or needle suitable for the job Depending on the nature of the garment.
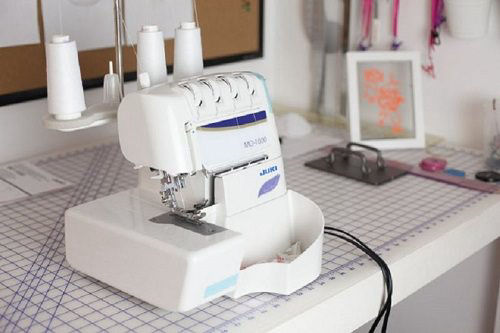
If you already understand how to work on a simple sewing machine and how you can work with different types of stitches, then it is the ideal time to jump to the cover stitch machine. Once you go to work on the deck stitch machine, you can see how beautiful it will look every turn from both sides and how amazing the edge finish will be.
If you want to have a definitive guide on the cover stitch machine, then you should read our reviews on the best cover stitch sewing machine that household sewers recommend. If you understand the twist and folds of the seam, then you have definitely mastered the skill. Always read the manual to understand the complete mechanism of your sewing machine.
Use a coverstitch machine for professional finishes
If you know how to work with stitches and where to use what kind of stitch, then you are ready to jump to the intermediate level where you should work on your different techniques. Even when receiving orders from your customers, you must first ensure that your seam is clean and strong.

3 - Ironing

Many people cannot get the ironing system like, what do we have to spend so much time at the ironing station when we have sewn the best? This is important for sewing and for your stitches to be flat. After sewing the seam if you open that part without ironing, it will look ugly and when using the project, your stitches will look ugly and messy.
Ironing simply will not flatten the edges and other things of the project, but will also give the fabric a clean and professional look. Each garment has a different requirement as if you are working on the velvet garment, then you must consider one thing: iron the fabric from the wrong side to prevent the front part from burning or burning. Always use an iron at medium temperature.
You can sew 2 projects, leave one without ironing and leave another after ironing. You can see the visible difference in both garments and how the stitches of both projects will look different from each other. If, as a beginner, you will ignore ironing, people who are going to witness your projects will notice that all of these are homemade.
To portray your professionalism and skills, you must continue working on the important parts and one of them in the ironing. Over time, you'll know how necessary it is for your sewing job and what wonders you can do for your job.
conclusion

If you are a passionate seamstress/tailor who wants to work on the techniques and wants to take pride in her work, then master these three techniques at your beginner stage and help you until you become a professional. These little sewing techniques will make you famous among customers.

SHARE THIS PAGE!

Address

844 Romano Street
Winchester, MA 01890

Contacts

Email: support@sosewing.org 
Phone: +1 (0) 781-368-0694